How to Make Pour Over Coffee – A Beginner’s Guide

Have you ever had a cup of pour over from an experienced barista, one that forever changed your outlook on what great coffee really is? If so, you know that pour over coffee is bright, clean, delicate, and full of flavor. But you might have watched an intricate, time-intensive process and thought, “Do I really have to do all that just to get a cup of Joe in the morning?”
The good news is that you can have the benefits of fantastic pour over without investing in an expensive setup or taking all morning to brew an artisanal mug of coffee. I’m happy to tell you that pour over is within reach for anyone with a little patience and a little knowledge.
And the news is even better for those of us who like to experiment. If you prefer a one-button setup, then you’re probably better looking at good typical drip or super-automatic machines. The real beauty of pour over brewing is that it is a manual process. You control not just the beans, grind, and ratio, but you even get a say in where the water goes and when.
Once you master pour over brewing, you’ll produce a cup of coffee like no one else. You also get to experience the finer qualities of excellent beans, experimenting with different varieties in a way that just isn’t possible with a more automated system. That’s why I think everyone should try pour over brewing at least a few times. You get the chance to really understand the process (and experience the results).
But that’s where the bad news comes in. Once you take off down the rabbit hole of pour over coffee, you might find that “regular” coffee just doesn’t do it for you any longer. You just might be headed down the trail of the “cuppers” (coffee snobs).
If you’re willing to take that risk, read on. You’ll find that great quality coffee doesn’t mean sacrificing all your time or money.
Basic Pour Over Method
Regardless of which pour over setup you have (and there are plenty of options), the general process is the same for most brewers. Pour hot water over ground coffee beans.
Sure, it’s a little more complicated than that, but not by much. While you should follow the manufacturer’s recommended process for your brewer, here is the basic method.
Step 1: Heat Water
As with most brewing methods, you want your water for pour over to be hot, but not too hot. The sweet spot is typically between 195 and 205 degrees Fahrenheit. A kettle with a thermometer will deliver best results, but if you don’t have one, just wait 30 seconds or so after you bring the water to a boil.
Step 2: Place and Rinse Filter
Most pour over systems use paper paper filters because they result in a cleaner brew. They can also leave your coffee with a slight paper taste, though. So, if using a paper filter, you’ll want to pre-wet it then dispose of the water used to rinse the filter.
You can skip this rinsing if you prefer a reusable filter. It’s also a good way to pre-heat your carafe, though, so I recommend a quick rinse either way.
Step 3: Place Dripper
Depending on your setup, you might be brewing into a carafe from the manufacturer or just your favorite coffee mug. In either case, you’ll need to place the dripper atop the container that will catch all your pour over goodness.
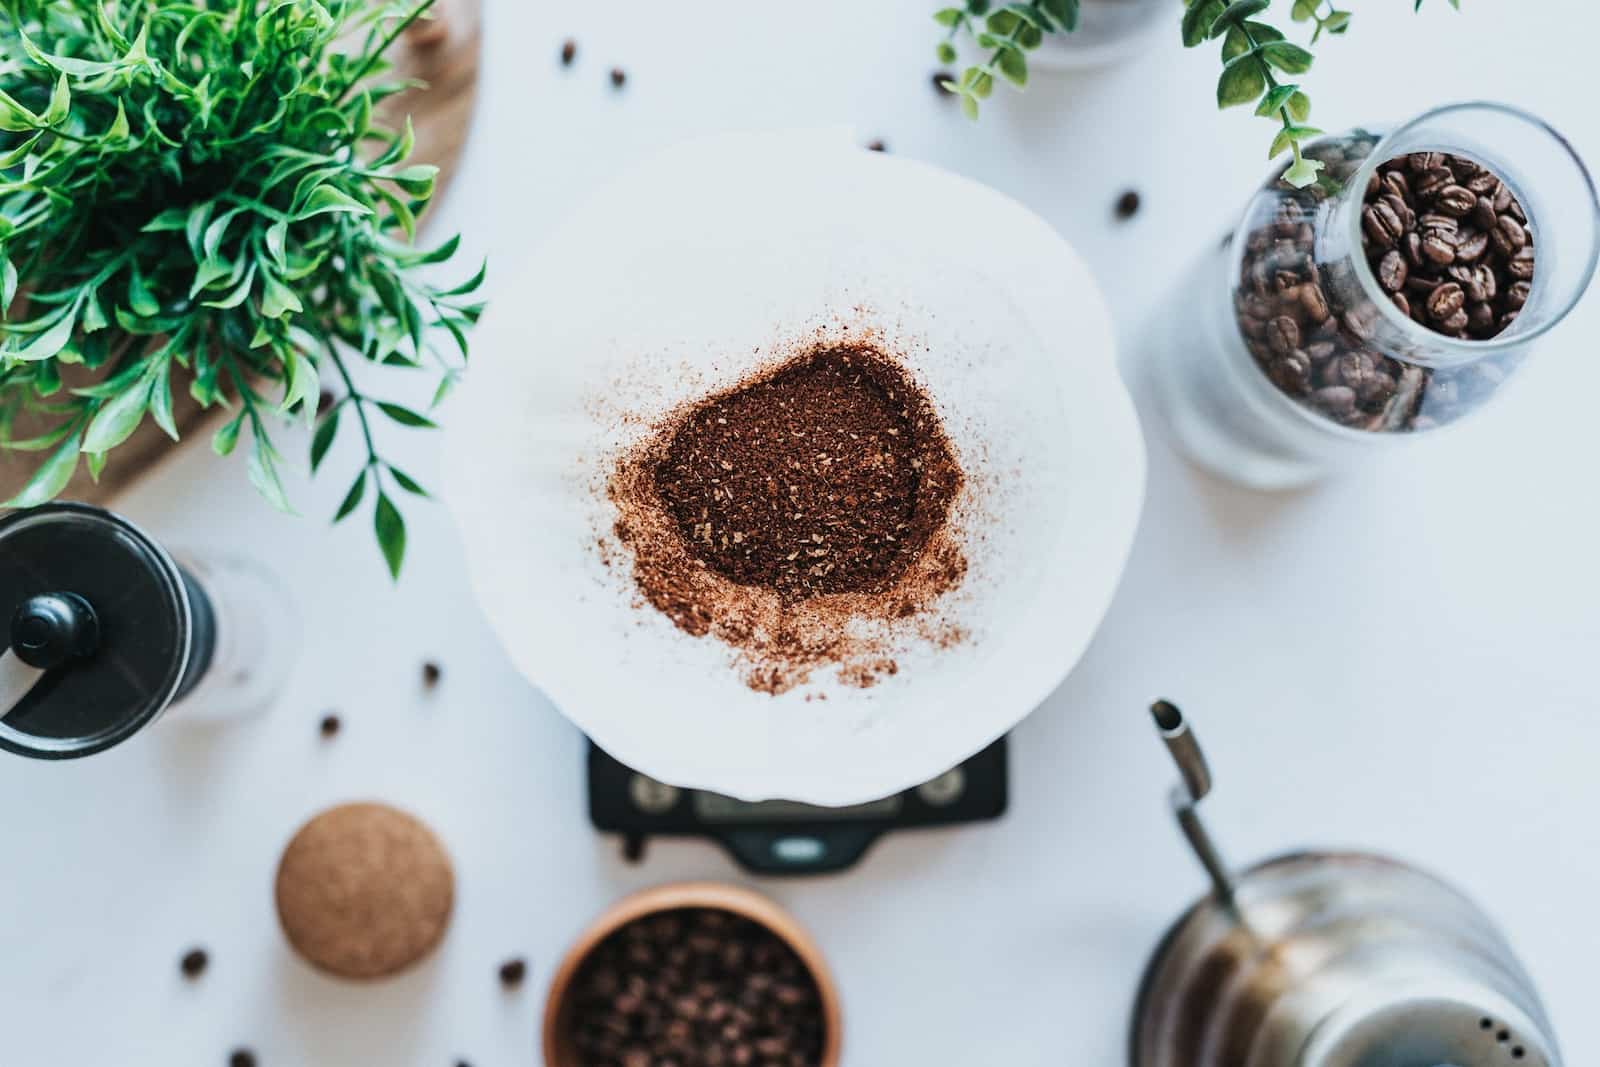
Step 4: Grind (and Weigh) Coffee
For a general pour over, I recommend starting with a medium to medium-coarse grind. Your grounds should resemble sea salt. Since you’re looking for maximum flavor, you want to grind just before you brew, and the pour over setup is ideal for this.
How much you grind depends on your needs and your preferred water to coffee ratio. In general, a 16:1 ratio is a good place to start, but a lighter roast might fare better with a little less coffee. If you’re brewing for a carafe, you can start with a liter of water for 60 grams of coffee. Adjust down for smaller sizes, like a single mug.
Step 5: Add Coffee to Filter
After pouring your coffee into the filter, be sure to get a nice, even bed. You can do this by tapping gently on the filter or leveling it with a spoon (don’t compress the grounds). This step is important because you want even extraction, and a level bed helps ensure that the water hits all the coffee.
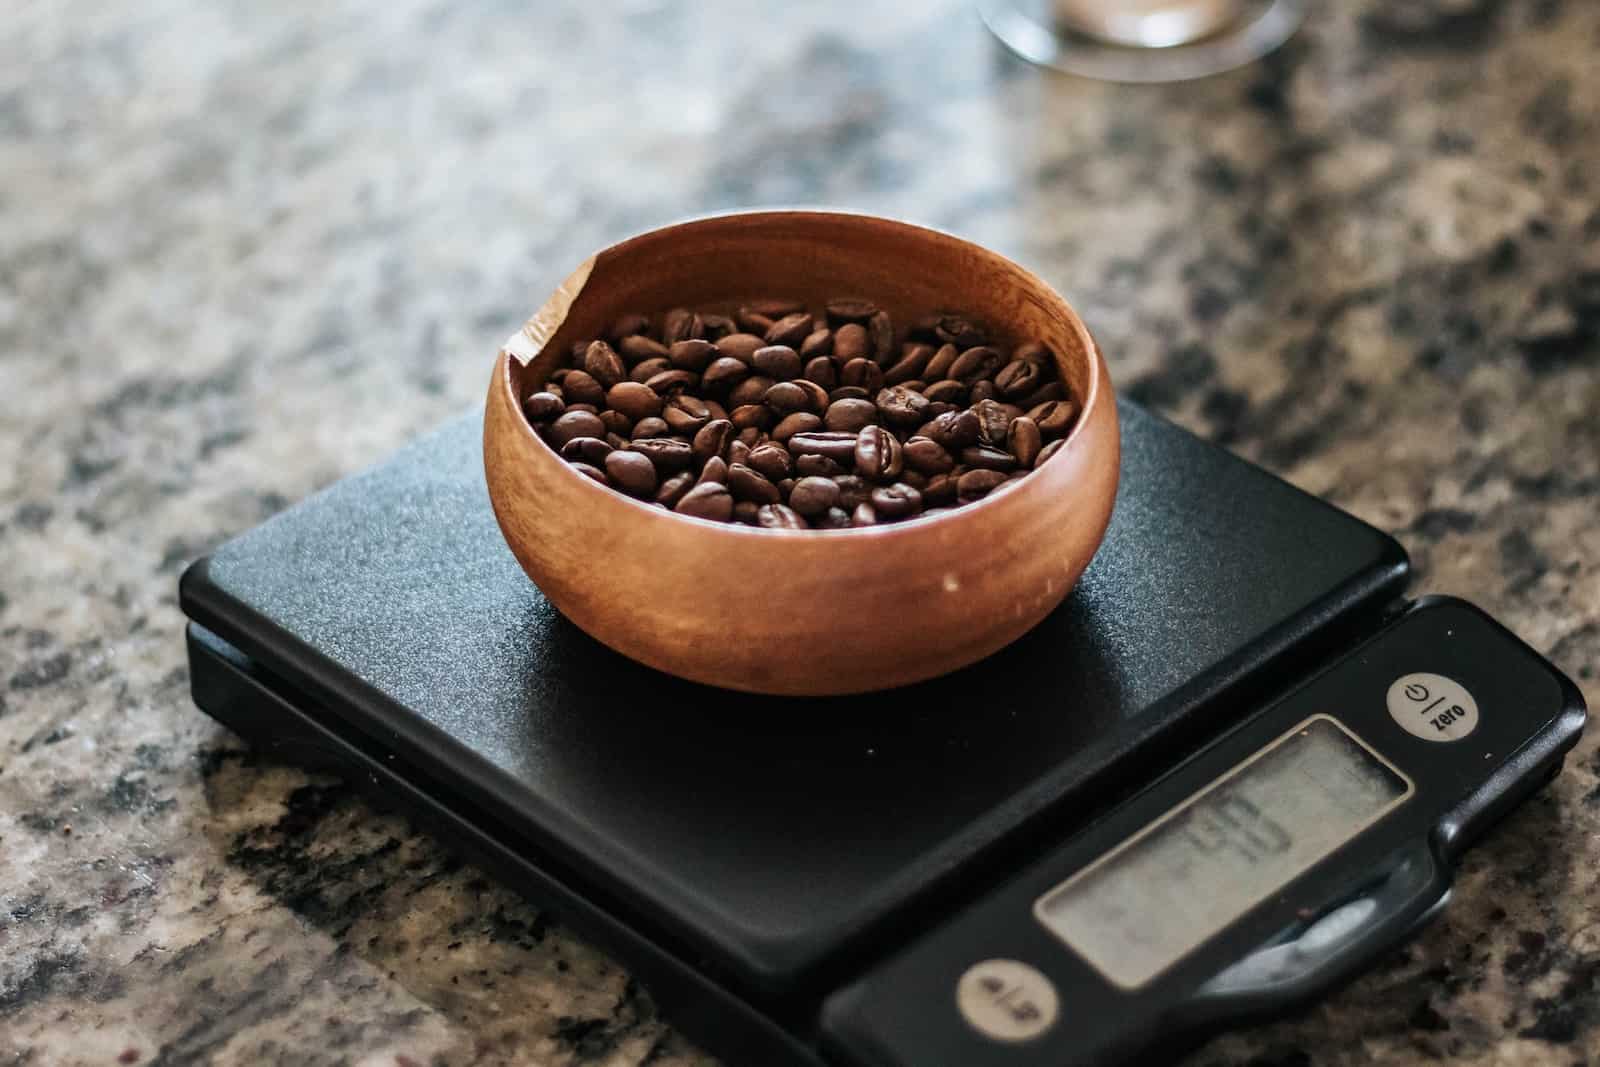
If you’re brewing on top of a scale (and you should be for best results), you can place your setup on the scale now and zero it out. This will help you know exactly how much water you’re adding. Just remember how much coffee you have so you can get the ratio right.
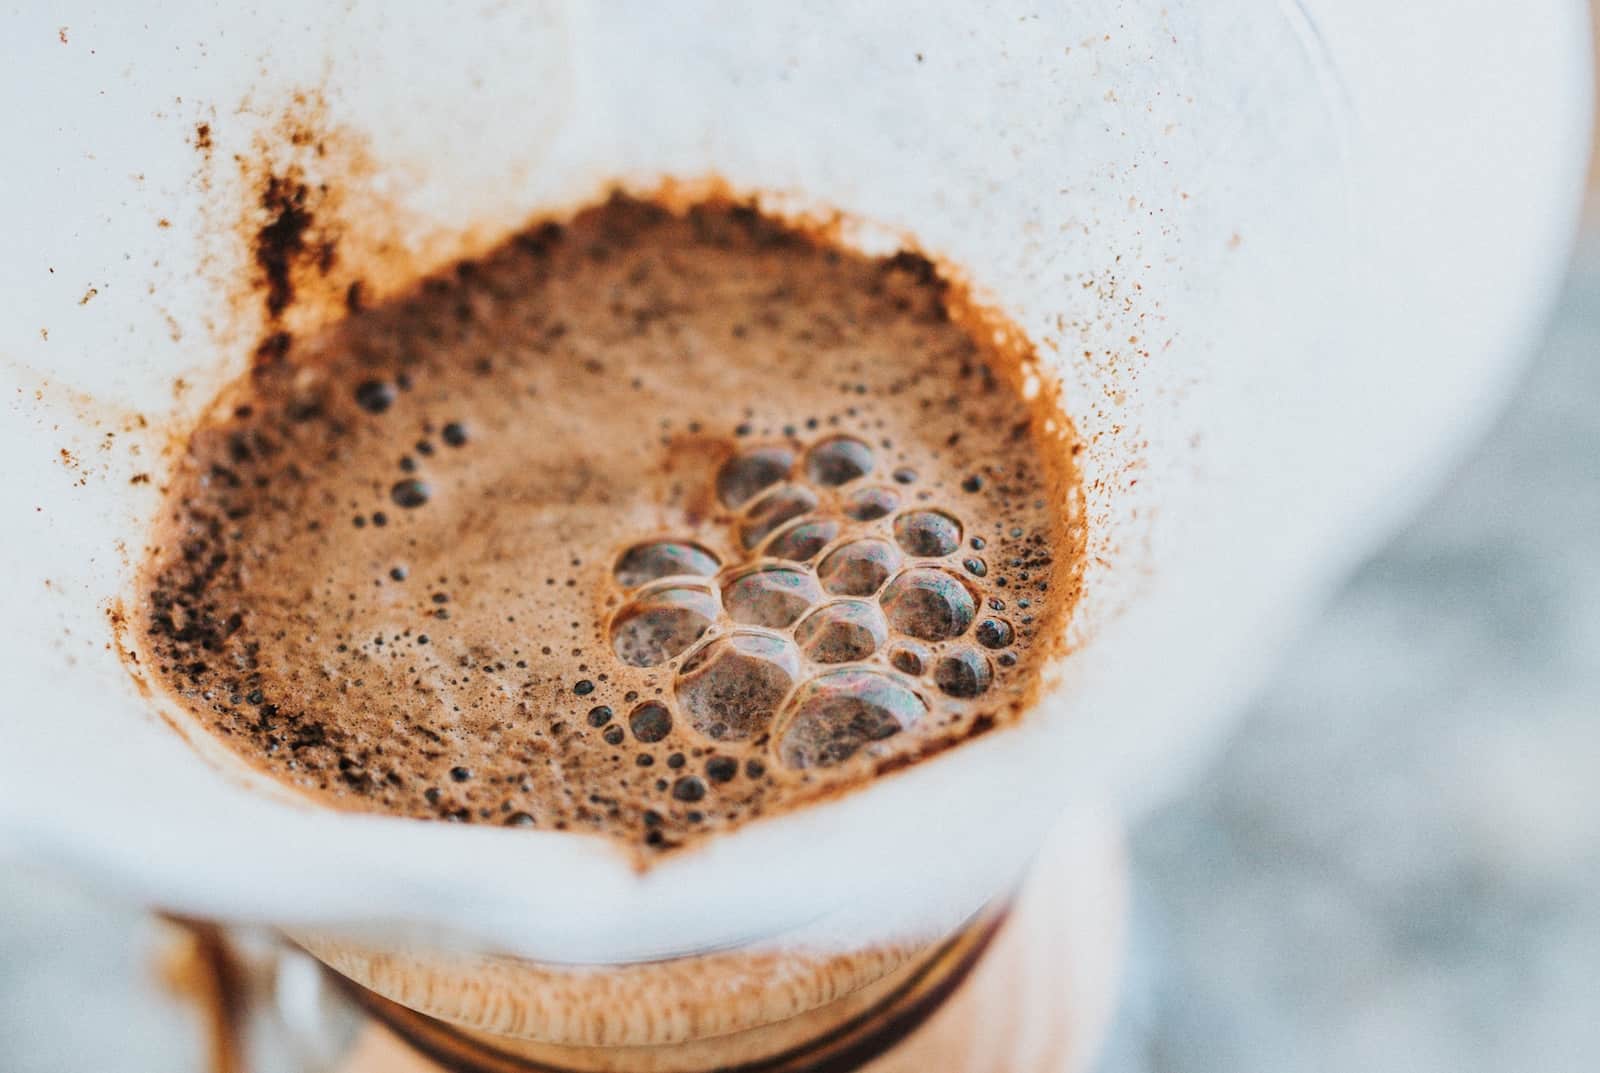
Step 6: Bloom Grounds
It’s finally time to start pouring, but don’t just dump your kettle into the coffee. That will leave you with unsatisfactory coffee or just a giant mess.
First, you want to start your timer and “bloom” the grounds. Begin at the center of the bed of coffee and pour in a circular motion, spiraling your way out to the edge of the filter.
Your goal here is to just saturate the grounds. If coffee begins to flow out of the filter, stop. You’ve added too much water.
Step 7: Wait!
Yes, I know it is tough. The hot water has hit your fresh coffee grounds and started to release all the beautiful aromatics that make you perk up in the morning. But you’ll want to wait for 30-45 seconds to allow the grounds to truly bloom.
This step ensures that the coffee is evenly saturated and gives it time to de-gas, releasing the carbon dioxide that could negatively affect your brew’s taste. Plus, it’s cool to watch the grounds “expand” from the release of gas, which happens to resemble a blossoming flower (that’s where the bloom term comes from).
Step 8: Slowly Pour Water
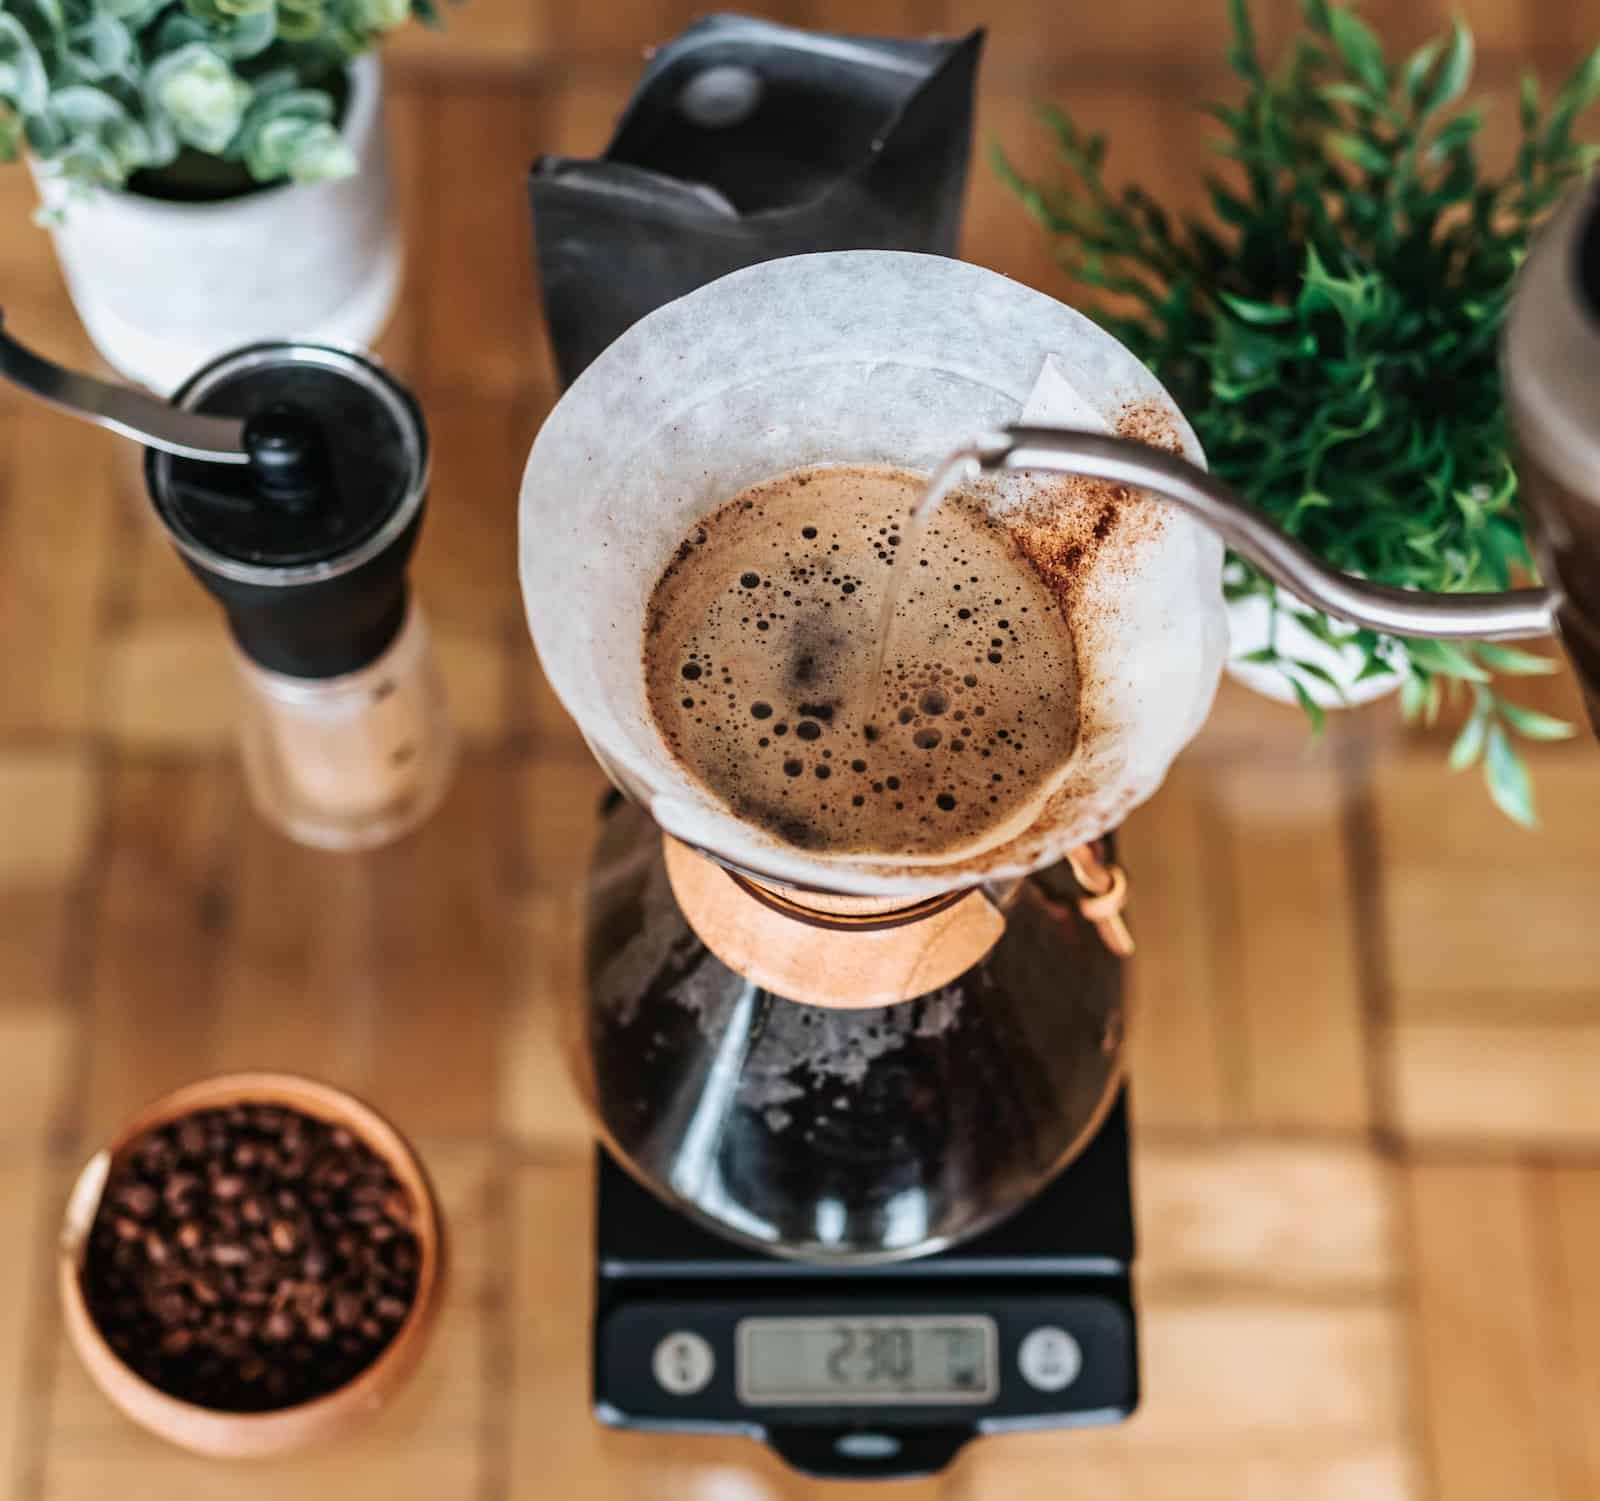
After that agonizing 30 seconds, go ahead and get to pouring. While techniques differ, the general advice is slow and steady.
Using a circular motion, you’ll pour a small stream over all the grounds. This process should take around three minutes and will likely happen in stages as you pour then allow the water to flow through the coffee, extracting all the flavor you’ll enjoy soon.
Some things to avoid:
Step 9: Swirl, Pour, and Enjoy
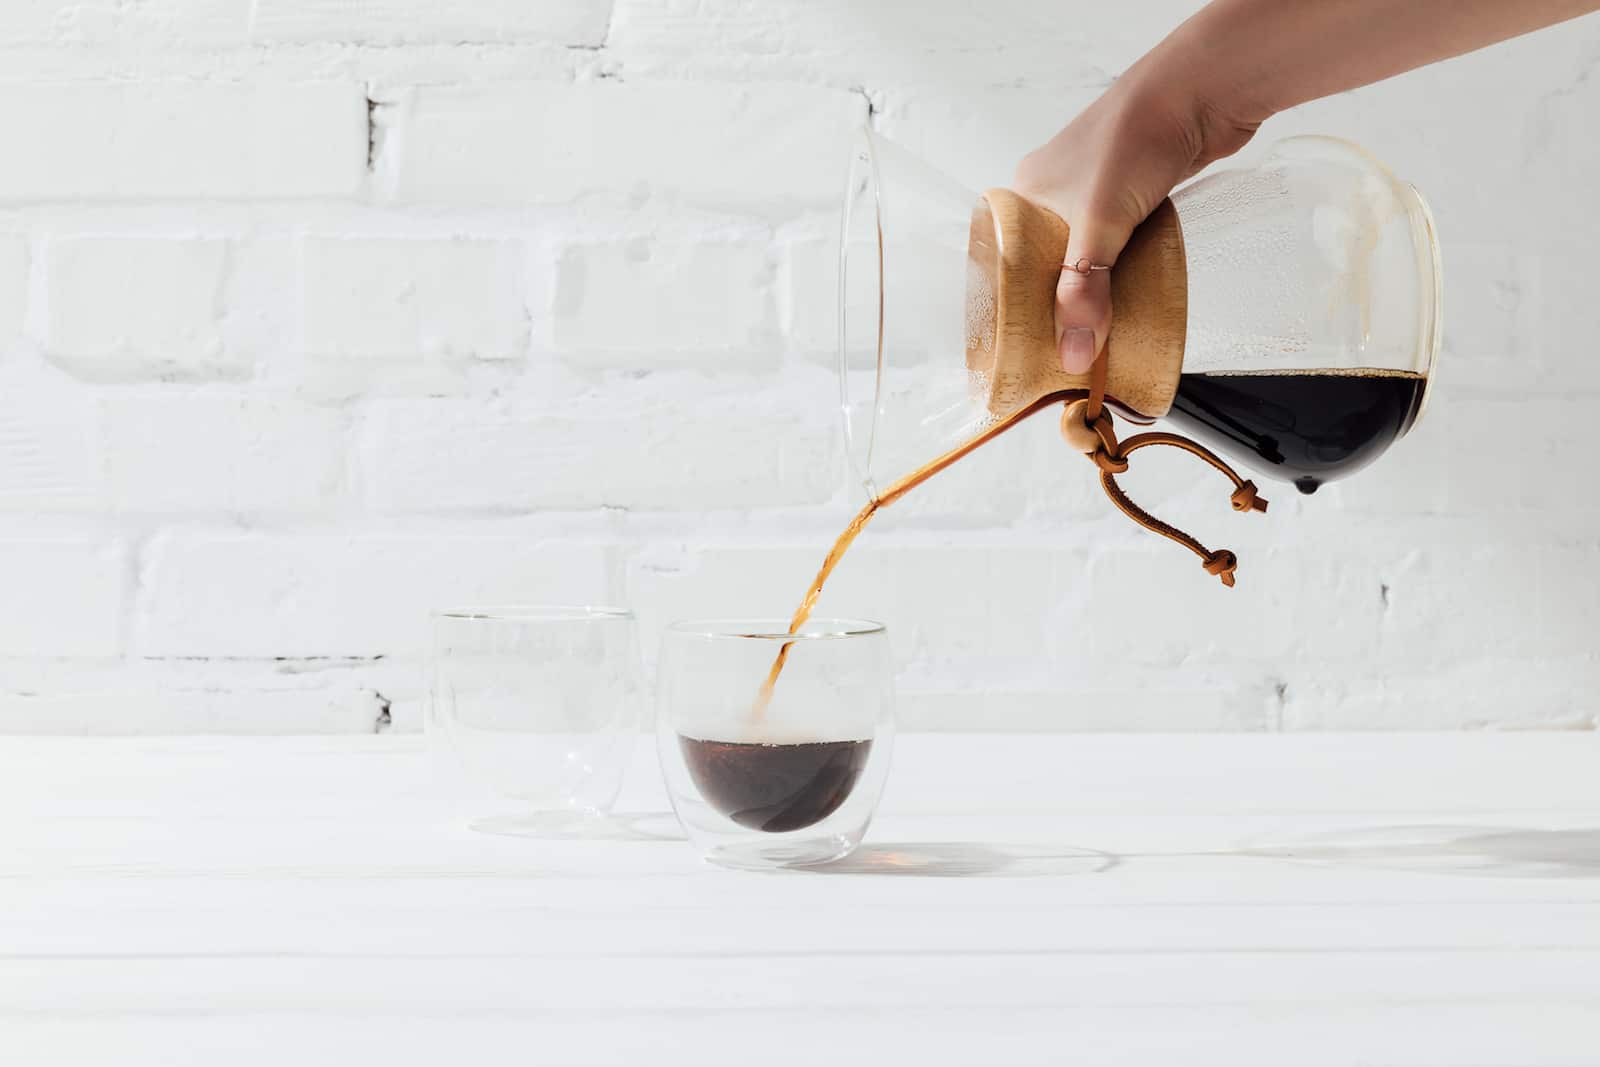
After your water has traveled through the grounds and the filter, you should be left with a bright, delicate brew in your carafe or mug. Give it a swirl to redistribute all the goodness and serve, either from the carafe or directly from your mug.
Step 10: Rinse and Repeat
Make note of the coffee’s flavor, what you like and dislike. Then make adjustments with ratio, grind, or brew time on your next go around. Try adjusting just one variable at a time, so you can see what effects it has.
That’s the beauty of pour over: You are in control.
Brewer Specific Tips
Following the process above should work with most any pour over system. They all have nuances, though, so you might want to adjust your technique. Here are a few of the more popular brewers and some ideas to keep in mind when using them.
Bee House
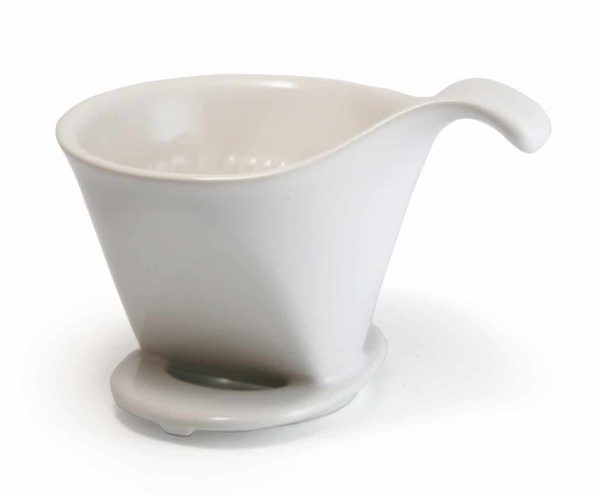
The Bee House has a wedge-shaped filter holder with ridges on the side. It uses cone filters, but it also has a flat, rectangular bottom with two holes for brewed coffee to flow through. One of its benefits is that it can brew directly into your favorite mug or a carafe server (like those from Hario or Kalita).
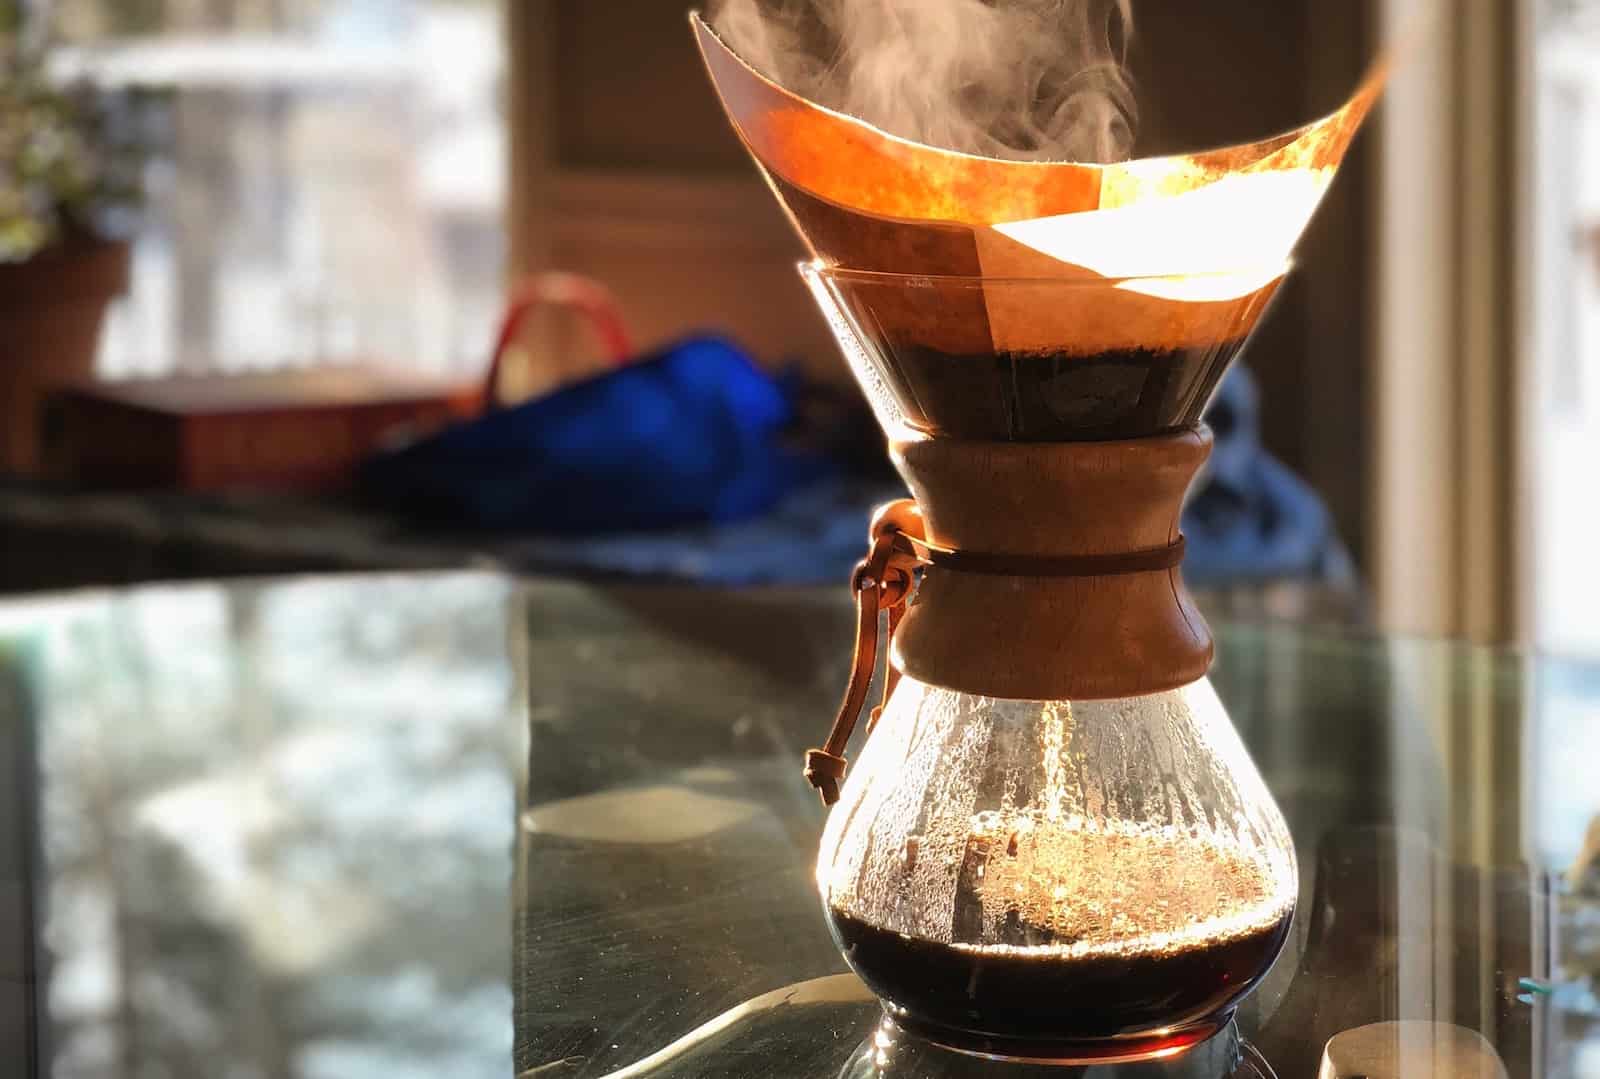
Chemex
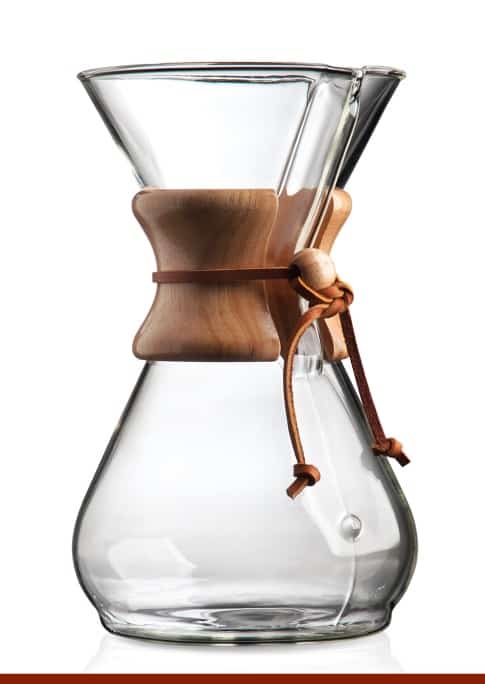
Lots of people picture the Chemex when they imagine pour over coffee. And it really is a beautiful piece of equipment with its glass filter cone and decanter.
Hario V60
The V60 is great for variety. You can get this cone-shaped pour over dripper in multiple sizes, colors, and materials.
Kalita Wave

As one of the few flat-bottomed pour over drippers, the Kalita Wave offers a shallow brew bed that delivers a calmer brew with even extraction.
The style of the dripper combined with its wavy filters set the Wave apart from most other pour over brewers. The ridges of the filter help increase air flow and prevent the dripper (especially the metal version) from pulling heat out of the coffee while it brews.
Pour Over Frequently Asked Questions (FAQs)
Isn’t pour over too complicated for home brewing?
Despite the flash and flair of some coffee shops, you don’t have to get fancy with pour over coffee. Brewing coffee is simple, and pour over just brings the process out into the open. It might take some practice to nail down a process that makes knock-your-socks-off coffee. But the process is still simple.
Granted, it’s not just pushing a button. But it’s nothing that someone with a little patience and attention to detail can’t handle.
What is the best way to pour?
You’ll get different advice from people who have their own favorite method. Some prefer continuous, others in rounds. Some have specific spirals or patterns they like to follow.
As long as you’re pouring slowly, though, and hitting all the grounds consistently (while keeping an eye on the clock), you should be in good shape.
How close should I hold the kettle?
Again, there isn’t a perfect answer here.
Obviously, you don’t want the spout so close that you are actually touching the coffee, or so close that you can’t get a good sense of how quickly you’re pouring. You also don’t want to hold it so high that it splashes or bores a path through the coffee grounds.
In general, a few inches above the filter should work well. Feel free to add a little flair if you like.
Do I really need to rinse the paper filter?
Most of the time. Rinsing the filter allows you to remove some of the papery taste from your final results. I also helps preheat your vessel, so it serves a double purpose.
Some filters (like those made for the Blue Bottle Coffee Dripper) claim that no pre-wetting is necessary. The best way to know is to try it both ways for yourself.
Is a metal filter better?
If you’re looking for a reusable option, you might consider a metal filter or something like the Able Kone dripper. They are generally durable and can be rinsed and reused with no problems.
They will brew a different cup of coffee, though. In general, paper filters (especially heavy filters like the Chemex) produce a cleaner cup. No matter how fine the mesh of a metal filter, it just isn’t going to grab as many tiny, insoluble particles and keep them from your mug.
If you prefer a thicker brew, a metal filter might work for you. For the clean, light experience most people want from a pour over, though, you’ll want to use a paper filter.
Do I really need to let the coffee “bloom”?
Yes.
Honestly, it’s important enough to just leave it at one word. But here’s why.
When hot water hits the coffee grounds, it begins to release CO2 and degas. It’s an essential part of the brewing process because that gas is going to be replaced by water, which then extracts the flavors and aromas we want out of the coffee grounds.
If you don’t allow this process to happen, your coffee will likely be more sour than you like.
My coffee is filtering too slow/fast. What should I do?
If the water is flowing through your grounds too quickly, you probably have a grind that is too coarse. The water has too much space and is running around the coffee.
If the opposite is happening (water taking too long to get through the grounds), you might have a grind that is too fine. In both cases, this will affect the taste of your coffee because it could be over or under extracted. So experiment with the grind and see what you get.
Do I need a pour over stand?
No. But they do look cool.
That’s the truth: stands are typically for display purposes. They look great in coffee shops, and they’ll look great in your home. But they don’t add much practicality to the process.
Recommended Brewers
If you’re looking for a pour over dripper for a specific purpose. Consider the following.
Best Pour Over Dripper for Beginners
The Kalita Wave is a great choice for the novice pour over brewer. The flat-bottom and even bed of the Wave is more forgiving with sloppy or unpracticed technique. And the longer brew time leaves a little more room for error and less stress about getting the timing perfect.
It also fits easily on your mug or a carafe, so you don’t need to worry about investing in a large setup.
Best for Advanced Users
With its iconic spiral ribbing and continually refined design, the Hario V60 is one of the most popular pour over drippers among both baristas and general coffee enthusiasts. The combination of a single hole and spiraled ribs mean that you can develop lots of different flavor profiles by altering your pouring technique.
That flexibility makes the V60 a great choice for brewers looking to take their pour over game to the next level. And many have even taken it to the highest level, winning barista championships with the V60.
Best for Portability
One nice aspect of many pour over drippers is that they are unassuming and compact. They don’t require a lot of space or attention. If you’re planning to take your brewer on the road, you probably want to stay away from the easily breakable drippers (glass and the more delicate ceramic).
Thus, the Kalita Wave and the Hario V60 work well if you opt for the metal or plastic versions. If you’re going to brew in the woods or on the trail, you might also want to think about a kettle that can be used over an open flame.
Note: if you’re looking for ultra portability, there are also some collapsible plastic pour over drippers that are light and tight.
Best for Style
While all the pour overs I’ve mentioned look great on the counter or in the cabinet, it’s hard to deny the visual appeal of the Chemex. The wood collar contrasts perfectly with the delicate glass. Somehow, the Chemex manages a sophisticated, geeky chic look.
It would blend in at a high-end coffee shop but also be comfortable in a high school chemistry lab. Plus, it just feels cool to be able to see your coffee brewing.
Recommended Accessories
One of the best things about pour over brewers is that they are relatively inexpensive. But they also require some extra equipment since they are usually just a filter cone and maybe a server.
The good news is that most of the accessories for pour over are also useful for other brewing methods or different jobs in the kitchen. Here are the accessories I recommend for anyone who is interested in getting the best out of their pour over.
Scale
You want a decent scale for measuring both coffee and water (measuring by weight is more accurate than by volume). It allows you to be precise and get your ratio just right.
The best scales for pour over brewing should be not just accurate but only refresh quickly. That way, you can see how much water you’ve poured without waiting for the scale to register the new weight. Look for a scale that doesn’t turn off too quickly and make sure it has a tare function.
Gooseneck Kettle (with Temperature Control)
Those fancy looking kettles do more than get attention on your counter. The curve of the thin spout (the gooseneck part) give you the most control over where the water goes and how quickly it pours out. A good kettle is also balanced so you don’t have to hold it at an awkward angle while pouring. This is particularly important for continuous pours.
Since accurate water temperature is also important, look for a kettle with temperature control. That way you can have your water exactly as hot as you need it after rinsing your filter and grinding your coffee.
Burr Grinder
Speaking of grinding, you’re going to want a decent burr grinder. The magic of pour over is how well it brings out the subtle flavors of your favorite beans. But if you have an inconsistent grind, pour over will just highlight that with an inconsistent brew.
There’s no reason to spend the time and attention needed for pour over brewing if you can’t rely on fresh coffee that brews at the same rate.
Timer
Some of the better coffee scales also have timers that allow you to see how look you’ve been brewing at the same time they weigh your coffee and water. If yours doesn’t, you’ll want a timer to produce a consistent, repeatable brewing experience.
The length of the pour, including the bloom and however many stages you go through, is one of the important variables that affect your pour over result. And an easy to use timer can help you deliver results every time.
Conclusion
Pour over brewing can seem intimidating at first. It looks pretty foreign if most of your experience is with a drip brew or even with espresso. Once you master a few simple techniques, though, you can begin the rewarding journey of taking control over your brewing process.
What’s your favorite pour over setup? Let me know about your best experiences with this manual coffee brewing process.